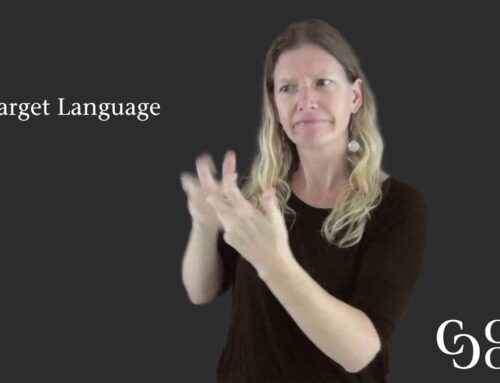
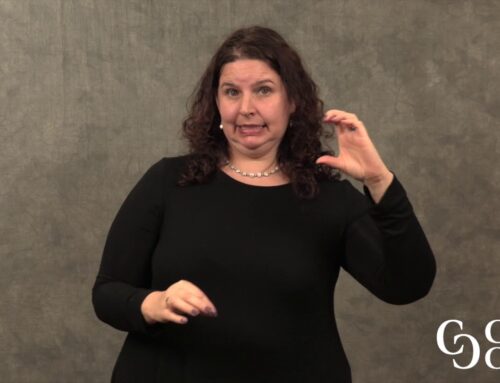
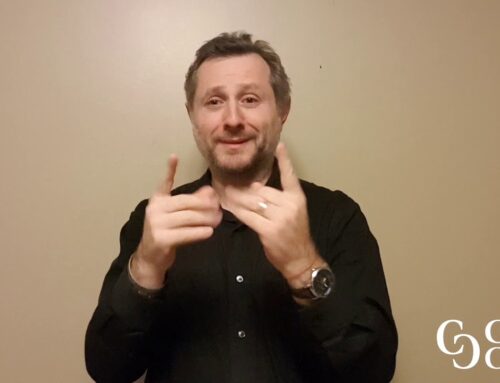
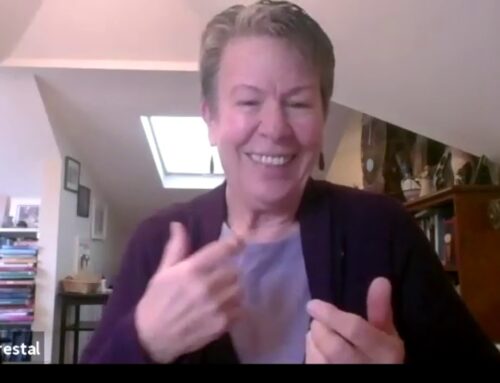
In this video, Angela explains how the pupil works. This video is an opportunity to practice two skills:
- Practice 3 specific features of ASL (ASL grammar, non-manual markers, and classifiers)
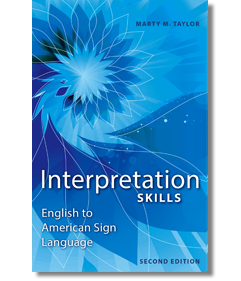
- Practice how to identify features using Marty Taylor’s book, Interpretation Skills; English to American Sign Language (find the link to where to buy the book here)
To begin identifying and incorporating these skills into your work, click on Step 1 toggle below.
In preparation, watch these two videos on how the pupils dilate and how camera lenses work:
Now, practice how you would sign the following:
- pupils dilating
- camera lenses zooming in/zooming out
- holding and handling a camera (adjusting lens, etc)
Watch the video in its entirety for a basic understanding of the video. When finished, try explaining how the pupil works in ASL.
When you are finished, click on the features (NMM, Classifiers, and Grammar) below to identify examples of each feature throughout the video.
NonManual Markers (NMM)
Notice how Angela does the following:
- How does Angela show that she is in a dark room?
- How does Angela show that her eye pupils dilate?
- How does Angela show that pupils get smaller?
- How does Angela show that is it dark?
- How does Angela show that is is VERY dark?
- How does Angela show the drawing into the infrared?
Below, find the clips of Angela demonstrating these NMMs in her video (copy signing what you see is highly recommended):
Classifiers
Notice how Angela does the following:
- How does she show the eyes wanting more light?
- How does she show that the eye pupils get smaller?
- How does she show the camera lens adjusting?
- How does she show that the camera needs more light?
- How does she show the flash?
- How does she show the infrared camera?
- How does she explain that people can be seen moving or walking by in the dark through infrared?
- How does she indicate drawing into the infrared?
Below, find the clips of Angela demonstrating these classifiers in her video (copy signing what you see is highly recommended):
- What does she mean by waving both hands back and forth using both hands with CL- extended B?
- How does she show that the eye pupils get smaller?
- How does she show the camera lens adjusting?
- How does she show that the camera needs more light?
- How does she show the flash?
- How does she show the infrared camera?
- How does she explain that people can be seen moving or walking by in the dark through infrared?
- How does she indicate drawing into the infrared?
Grammar
Notice how Angela does the following:
- How does she explain the reason why the eye needs light?
- What feature does she use when she squints her eyes and raises her eyebrows when she’s talking about the strong sun?
- What feature is ‘DO-DO’?
- What is she doing when she says ‘NOT NEED LIGHT’?
- What feature is ‘STILL LIGHT’?
Below, find the clips of Angela demonstrating these grammatical features in her video (copy signing what you see is highly recommended):
Now that you have identified and copy signed examples of the NMMs, classifiers, and grammatical features Angela used throughout her video, it’s your turn!
Find a recording device and record a retelling of “How the Pupil Works” in ASL, incorporating the features you just learned about.
Compare your re-telling to the original video.
Complete Text
Complete Text
Video runs from 1:58 – 14:59
How the Pupil Works
Transcript:
The pupil is a hole located in the centre of the iris of the eye allowing light to strike the retina. It appears black because light rays entering a pupil are absorbed by the tissues inside the eye. The iris controls the amount of light that enters the pupil by using special muscles constricting to decrease light and dilating to allow more in. This behavior explains why the pupil increases in size when it is subjected to dark environments and decreases in brighter ones. The normal pupil size ranges between 2.5 to 4.0 millimeters. However, it can approach a maximum size of 3 to 8 millimeters. The pupil plays a vital role in our ability to see behaving similarly to a camera’s aperture – allowing images to be seen and captured.
How a Camera Lens Works
Transcript:
If you look at a scene through a single lens, it appears upside down. Why is that? Lenses that are thicker at the middle are called convex lenses. These lenses cause parallel light rays to converge to a single point, called the focal point. When light rays pass through the lens they do not travel in straight lines, but rather bend slightly inward. This phenomenon is called refraction. When light rays pass through the lens they refract and converge to a single point to produce an image. Because the image passes through the lens to the opposite side, it is projected upside-down. This process alone however is not enough to produce a sharp image. This is because strictly speaking a spherical convex lens alone cannot cause light to converge to a single point. The focal point where light rays passing through the center of the lens converge differs slightly from the focal point where light rays passing through the edge of the lens converge. This is called spherical aberration. In addition color fringing may occur. This is called chromatic aberration. When light passes through a convex lens the focal point for red light, which has a long wavelength, is farther away from the lens than the focal point for blue light, which has a short wavelength. This causes colors to shift. As a result colors appear to bleed making light converge neatly to a single point. This requires technology since the direction in which spherical aberration occurs in a convex lens is opposite to a concave lens. Through a combination of two or more lenses, light rays can be made to converge to a single point. This is called aberration correction. Chromatic aberration can also be corrected by combining two lenses to achieve the most beautiful images possible. Actual camera lenses incorporate multiple individual lenses that correct focus and color bleeding. Lenses for single lens reflex cameras are made up of a large number of lenses. Each lens is responsible for such roles as adjusting color distortion and focus as well as changing the focal distance. Kennan takes pride in its diverse lens lineup- each model features technology designed to capture beautiful images.
NMM #1
How does Angela show that she is in a dark room?
Squinted Eyes
(MT 4.13e NMMs, p. 129)
(0:19-0:21)
NMM #2
How does Angela show that her eye pupils dilate?
Wide Eyes
(MT 4.13e NMMs, p. 129)
(0:23-0:26)
NMM #3
How does Angela show that pupils get smaller?
Squinted Eyes
(MT 4.13e NMMs, p. 129)
(0:36-0:40)
NMM #4
How does Angela show that is it dark?
Squinted Eyes
(MT 4.13e NMMs, p. 129)
(0:54-0:58)
NMM #5
How does Angela show that is is VERY dark?
Squinted eyes and clenched teeth
(MT 4.13e NMMs, p. 129)
(1:08-1:12)
NMM #6
How does Angela show the drawing into the infrared?
Partly squinted eyes and pursed lips
(MT 4.13e NMMs, p. 129)
(1:16-1:21)
Classifiers #1
How does Angela show her pupils want more light?
Waving both hands back and forth using both hands with CL- extended B
(MT 4.5 BCL Classifiers/Constructed Action, p. 115; MT 6.4 Constructed Action, p.179)
(0:25-0:31)
Classifiers #2
How does she show that the eye pupils get smaller?
Closing the CL-F
(MT 4.5- Body/Body Part Classifiers, p.114)
(0:35-0:38)
Classifiers #3
How does she show the camera lens adjusting?
Right hand, CL-S to C
(MT 4.6- Instrument/Tool Classifiers, p.116)
(0:50-0:54)
Classifiers #4
How does she show that the camera needs more light?
Waving right hand
(MT 4.5 BCL Classifiers/Constructed Action, p. 115; MT 6.4 Constructed Action, p.179)
(0:54-0:57)
Classifiers #5
How does she show the flash?
Right hand, CL-flat O, then open 5, then back to flat O
(MT 4.8 Element Classifiers, p. 118)
(1:00-1:04)
Classifiers #6
How does she show the infrared camera?
Both hands, CL-C
(MT 4.2- Semantic Classifiers, p. 110)
(1:05-1:10)
Classifiers #7
How does she explain that people can be seen moving or walking by in the dark through infrared?
Using both hands, CL-1, crossing back and forth
(MT 4.2- Semantic Classifiers, p. 110)
(1:10-1:15)
Classifiers #8
How does she indicate drawing into the infrared?
Both hands, CL- contracted 5/claw
(MT 4.6- Instrument/Tool Classifiers, p.116)
(1:16-1:20)
Grammar #1
How does she explain the reason why the eye needs light?
Uses rhetorical question- WHY
(MT 6.3 ASL Structures/Rhetorical Questions, p. 168)
(0:24-0:27)
Grammar #2
What feature does she use when she squints her eyes and raises her eyebrows when she’s talking about the strong sun?
Conditional statement
(MT 6.2 ASL Structures/Conditional Statements, p. 164)
(0:30-0:36)
Grammar #3
What feature is ‘DO-DO’?
Rhetorical question
(MT 6.3 ASL Structures/Rhetorical Questions, p. 168)
(0:35-0:39)
Grammar #4
What is she doing when she says ‘NOT NEED LIGHT’?
Role shifting
MT 6.4 Constructed Action, p.179)
(0:38-0:40)
Grammar #5
What feature is ‘STILL LIGHT’?
Conditional statement
(MT 6.2 ASL Structures/Conditional Statements, p. 164)
(0:40-0:45)
Go to Preparation
Click on Step 1: Preparation to get started!

